1
Start with a focused project
Open the video editor and begin with one clear outcome, such as a short announcement, tutorial, social clip, or internal update. Name the project around that outcome so later revisions stay easy to identify. Import only the clips, images, music, or logos that belong to this version. If your source material is scattered, place the selected files in one folder first and remove duplicate takes before uploading.
2
Build the rough cut
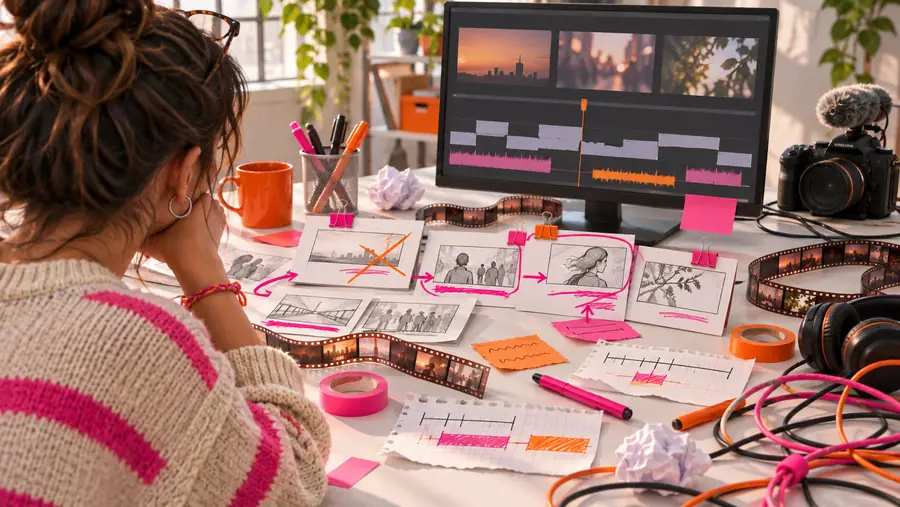
Place the strongest opening moment first, then arrange the remaining clips in the order a viewer needs. Trim dead air, repeated ideas, long transitions, and accidental camera movement. Do not spend time on colors or decorative text yet. Watch the sequence once without stopping and ask whether the main point is understandable even before captions, music, or branding are added.
3
Polish, review, and share
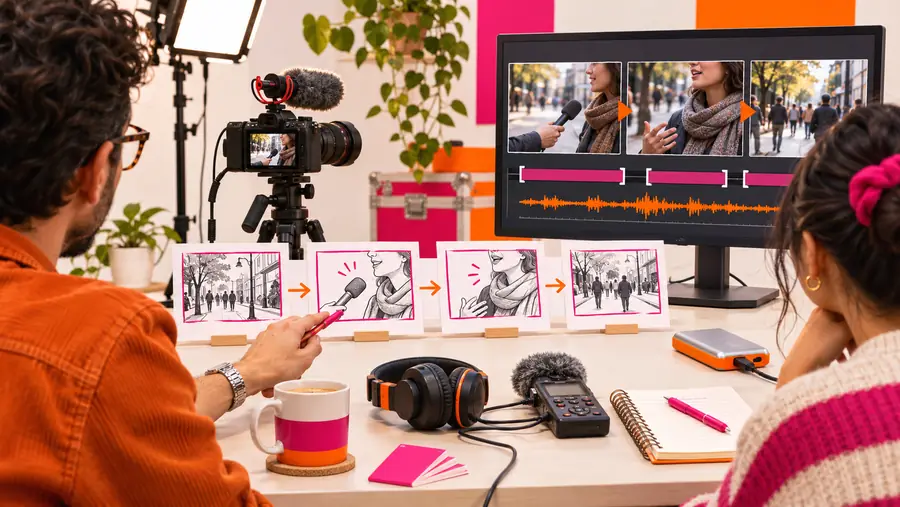
Add titles, captions, transitions, and audio adjustments only where they improve comprehension. Keep text on screen long enough to read and make the opening frame explain why the viewer should continue. Review the complete timeline from beginning to end, check the first and last seconds carefully, then export or share the finished video using the option that matches your destination.